~
Step 1:
Choose the object

You need to be smart at choosing the object. Aspects worth considering:
Colour of the object,
Shape of the object and
if the object is transparent.
Here the chosen object is a mouse with black curved surfaces. This is particularly challenging since a black smooth surface with minimal features is more difficult for the photogrammetry software to distinguish and 3-d locate.
Possible solutions:
* paint the object a different colour

* wrap the object in newspaper

Both methods give the software graphical cues in the stitching process.
~
Step 2:
Software work
Work process:
123d catch --> (meshmixer) --> 123d make --> Illustrator


123d catch: 3d model capture
(meshmixer): smooth and fix the captured model. Not necessary if the model captured is perfect.
123d make: 3d slicing and material thickness settings for lazer cutting.
The process is straight forward. Some basic tutorials can be found here:
http://blog.123dapp.com/
The final lazer cut model is made with 2mm plywood sheets. It would be better to set the material thickness to 2.5mm so that the lazer cut pieces are easier to assemble together.
However, you need to be efficient at refining the model as well as the lazer cutting process since it is easy to over work a model by refining unnecessary details. Do not buy material before obtaining a usable 123d make model.
~
Steps 3:
Understanding the 3d form


By now you should have obtained a lazer cut model from the object. If the slices are hard to out together, you should use a file tool or sandpaper to widen the gaps between.
Now you need to understand the 3d form before metal working. Aspects worth considering:
* should you make a partial skin ?
* how many curves are there ?
* where do the curves meet ?


The overall form is like a dome. Materials need to be pushed out and down away from the middle point. Surfaces on the side of the model all have different curvatures which require a through out planning before the metal form making.
Step 4:
Measuring


A string is quit useful in measuring curved surfaces. The measuring is directly transferred to a piece of aluminium which is the cut to the correct size.
step 5:
Understanding tools:
Leather sand bags (round and rectangle with varying sizes)
Used for making rough curves at early stages.

Hard wood hammers (rounded, flat and straight pein end)
Since wooden hammers are relatively soft, these hammers can be used for making detailed pushes on the aluminium. The process can be slow therefore it is not recommended to start with these hammers.

Nylon hammers (flat end, blossing and straight pein end)
These nylon hammers are the most used tools since they are hard enough to move metal quickly, yet they are not as hard as metal hammers to leave marks on the surface of the aluminium.

Steel hammers (flat end, inverted curve end and straight pein end)
Metal hammers should not be used on the outer surface (finishing face) of the aluminium skin. Such action will leave visible hammer marks which are difficult to remove.

Polished steel pollies of varying shapes.
Polished surfaces ensures that they don't leave marks on the metal sheet. The following video clip shows you hot to set up the dolly.

When hitting the metal on pollies it is important to control the angle of the hammer against the curved surface. As is shown in the video clip. The goal is to push the metal instead of bending. When hitting the dolly straight on, you are not pushing the metal but thinning the part being hit. By positioning the hammer at an angle, either on top of the end or below it, the metal is effectively pushed.
However, this takes practice and constant re-positioning the metal.
Stage 6:
Metal Shaping:
The rough curve was made with the metal roller. The corner was cut off to
make a rounded edge. Later both ends was hammered down on a sandbag,
bent down instead of gradually pushing the material down (MISTAKE). The
flat-end steel hammer and the English wheel are great tools to smooth down
the surfaces.


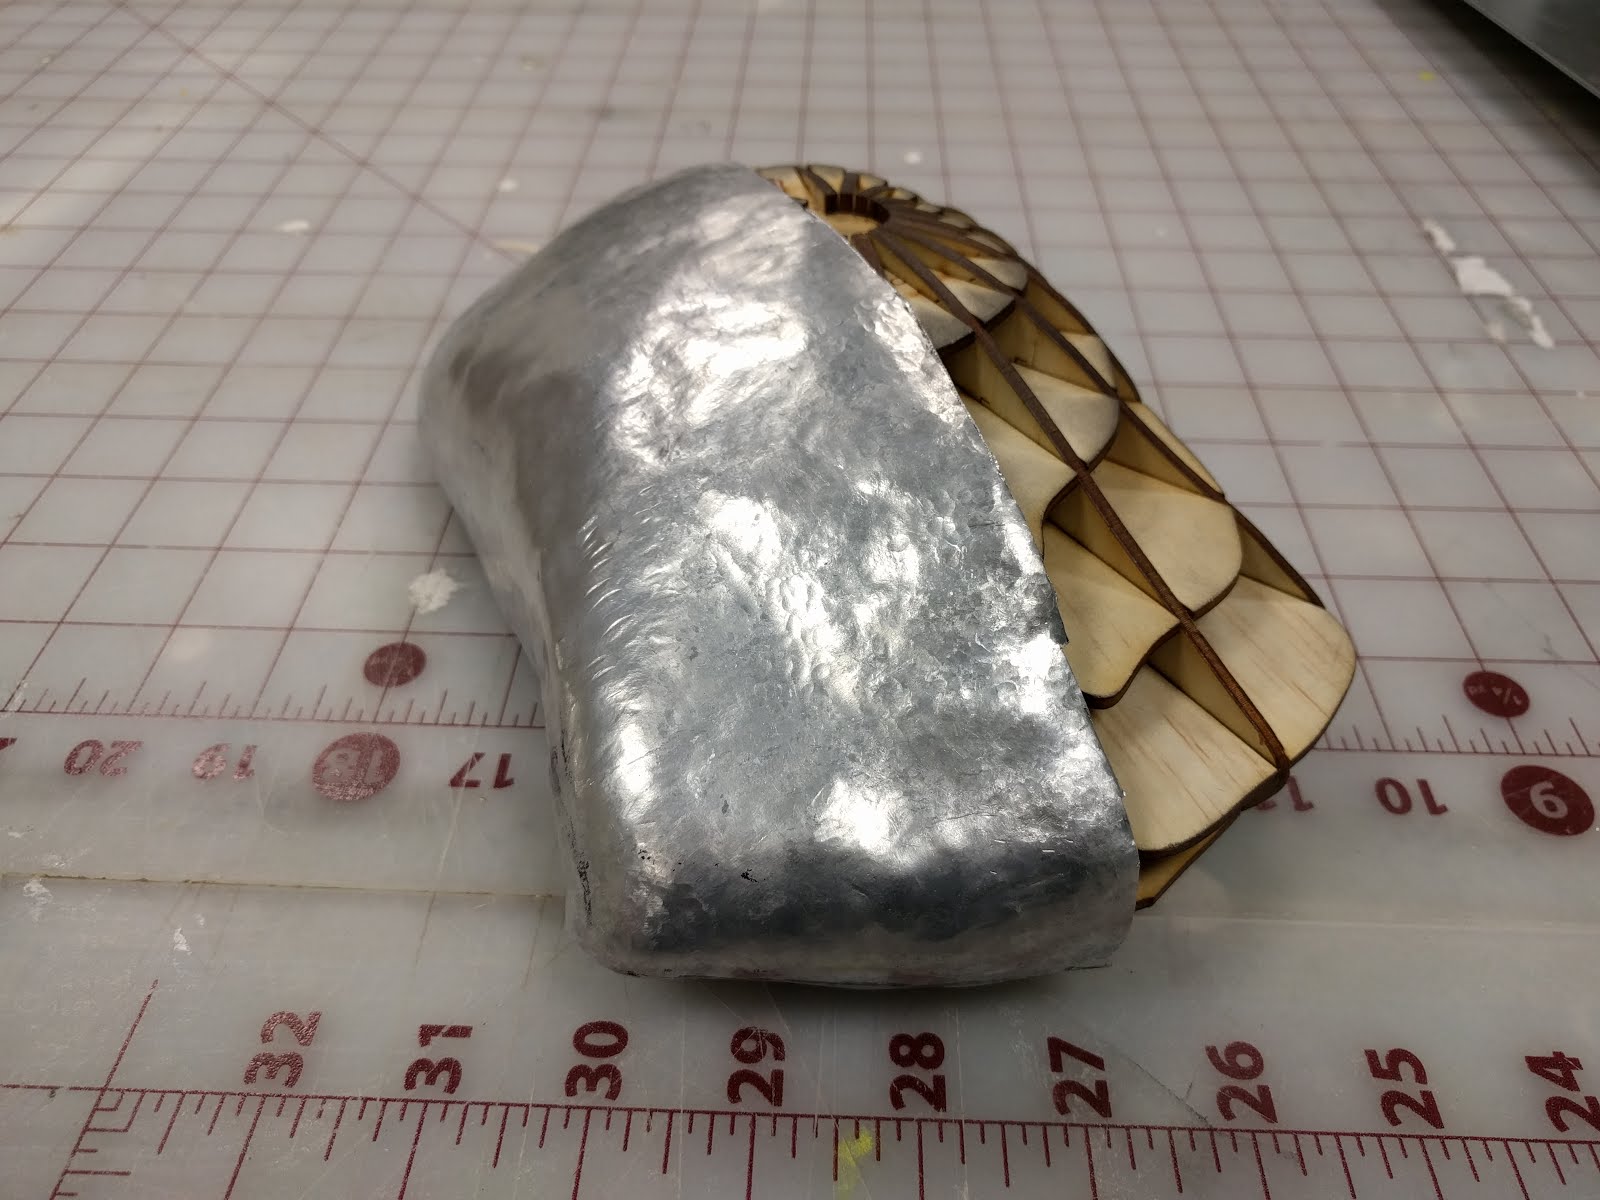
result:


Summary:
The first attempt took me roughly 15 hours of work in total. In the metal making process, I took an approach that start from making the overall form. I believe such an approach gives me more control in the making process. Since the form is all curves, I had a constant fear that there was not enough time to finish the work. However, the final metal skin obviously lacks detail mainly because of the use of wrong tools. Like any design work, it requires a process to go back and forth and figuring out the best methodologies along the way.
No comments:
Post a Comment